Video Production Equipment and Software for Every Budget
September 23, 2021·8 min read
Whether you’re a beginner or an expert, this comprehensive guide to video production equipment will help you get filming in no time.
You want to start making videos. That’s great! But first, you’ll need the right equipment for video recording.
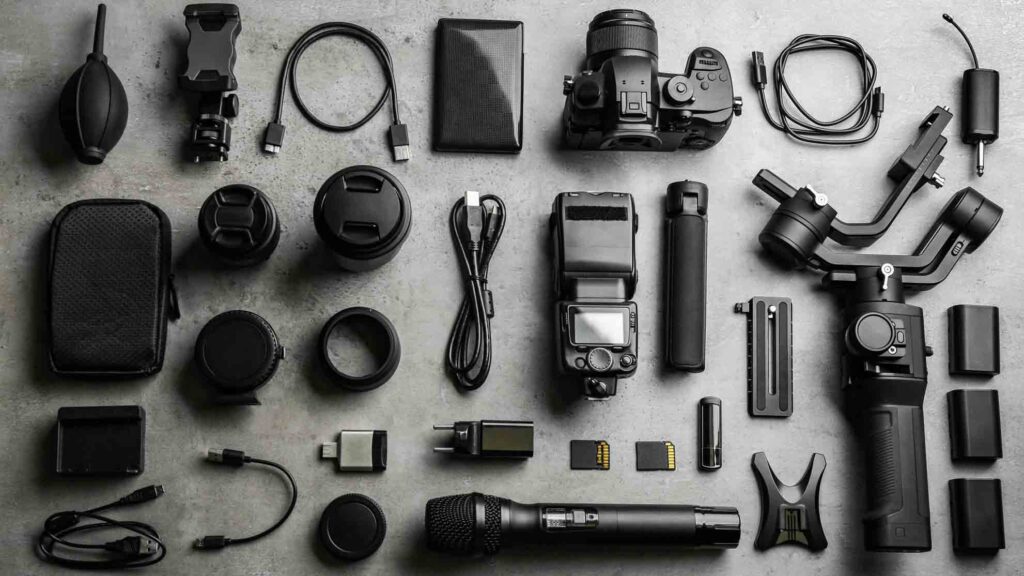
What do you need to get started? It could be just an iPhone. Or maybe it’s a DSLR and 50mm lens. Or maybe it’s a prosumer camera plus an Adobe Premiere video editing software expert. Each video creator is different, and they have different video equipment needs.
Please—before you run out and buy anything—read this whole guide. Promise us. Gear is fun, but not if you’re only using your tricked-out 4K camera as a paperweight.
Always buy your video equipment with your end goal in mind.
Consider the following questions to help you find out what video production equipment might be best for you:
- What formats will you need to create?
- Where do those videos fit into the buyer’s journey?
- What’s your team’s budget and skill level?
Let your needs dictate how you consider the equipment explained in this guide. When in doubt, buy less and work your way up from there.
- Contents
- What’s Your Video Production Budget, Skill, and Team Size?
- What Video Recording Equipment Do You Need?
- How to Choose the Right Video Production Equipment
- The Best Options for Video Editing Software
- Put Your Video Production Equipment to Work
What’s Your Video Production Budget, Skill, and Team Size?
Yes, we know people aren’t equipment. But your team’s size and skill level will influence your choice of gear. Do you have a seasoned video production manager, or is this your team’s first shoot? Do you have a strategist, director, scriptwriter, and graphic designer, or are you one person wearing all the hats?
Example Video Production Teams
Beginner: Video producer (one or two people wearing all the hats)
Intermediate: Video producer (usually two people), camera team, copywriter
Advanced: Video producer, copywriter, video writer, storyboard artist, director, camera team, sound team, makeup team, editor(s), graphic designer
Small or inexperienced teams should start with beginner equipment. If you outgrow it, you can always upgrade. Larger or at least moderately experienced teams should consider intermediate and expert gear since they have the skills and bandwidth to actually make use of it.
What Video Recording Equipment Do You Need?
Before you read on, keep a couple of things in mind.
We’ll provide our video recording equipment recommendations, but every production and team is different, so take care to make your own judgments about what you actually need. Read and watch reviews for everything you buy; video equipment is a real investment, and you don’t want to waste money.
Look into the products we recommend and do your own research. There’s a ton of video production equipment out there that can serve you differently, and we’re only scratching the surface of what’s on the market. There might be better fits for your unique situation.
Now, without further ado, let’s get into it!
What’s on your video production equipment checklist? In this episode of the Video Island Podcast, the team goes over the basic equipment you need for shooting video.

How to Choose the Right Video Production Equipment
You don’t need much to record or produce your own video content. There’s been plenty of beautiful and professional-looking videos created with a tool that pretty much all of us have in our back pockets—a smartphone. Stepping it up a bit, you could use a DSLR with a 50mm lens. Or, if you have the skill and budget, go for a professional camera rig. It all comes down to your budget, skill level, and team size.
In the list below, we’ll walk you through good, better, best scenarios when choosing equipment based on the type of video you need to create, your level of experience, and the resources you have at your disposal.
Recommended Video Equipment Kit for Beginners
This type of gear is great for any content creator. Whether you’re recording and sharing videos to use for sales outreach, video content for social, blog, or email, or for any video content you need to create for little to no budget, a blog. This gear also has a small footprint, so it’s great for your at-home office setup/recording studio or to take on the road to shoot anywhere.
Camera
So, what do you really need to get started? Luckily, you likely already have a camera ready to go. Most smartphone cameras come equipped with a 1080p video camera, which is the industry standard. Some even shoot in 4K, which will make your videos look sharp.
In an ideal world, your phone has a double lens: One that’s more zoomed-in and one that does wide shots. That will ensure you can make your image look exactly how you want it to. If you don’t have a double lens and have a little extra money to throw around, you can pick up a clip-on lens that helps your camera zoom in without distorting the shot.
Instead of recording on your smartphone, you could also be filming on your computer. If you want to know how to screen record, a tool like Vidyard lets you record yourself, your screen, or both. Just make sure you have a 1080p webcam.
In this example, Alanna, Content Marketing Manager at Vidyard, created a screen share video using Vidyard, with just her webcam and built-in microphone.

Audio and Mic Options
If your audience can’t hear you, it’s the end of the road. Subpar video can sometimes be forgivable, but subpar audio will make your audience click off your content really quickly. You’ll need a microphone to ensure you aren’t picking up much ambient noise, so your voice comes across nice and clear. Definitely pick up a lavalier microphone. You can get one that plugs into your phone and clips onto your chest, which will do the job just fine!
Our wired lavalier microphone recommendations:
- Good: Audio-Technica ATR3350iS
- Better: Shure MVL
- Best: Rode smartLav+
If you’re recording on your computer or laptop, you can also pick up a USB or Bluetooth microphone to step up your audio game.
Our computer or laptop microphone recommendations:
- Good: Samson Go
- Better: Blue Yeti
- Best: Shure MV7
Tripod
You’re going to want a tripod to keep your video stable. An AmazonBasics branded tripod will do the job just fine for your tripod. You don’t need anything fancy at this point.
Lighting
To complete your beginner toolkit, you’ll want a ring light to make sure your audience can see your subject.
Our ring light recommendations:
- Good: Whellen Selfie Ring Light
- Better: Emart 10-inch Selfie Ring Light
- Best: Neewer Ring Light
Recommended Intermediate Video Equipment Kit
Okay, now you’ve outgrown your starter gear and have a better idea of how to put together a shot.
Intermediate gear shoots higher quality footage for flattering customer testimonials, scripted videos, and assets with medium-to-high production value. Let’s get you ready to take the next step.
In this example, Tyler, Chief Video Strategist at Vidyard, uses an intermediate video equipment kit, to create a follow-up video for conference attendees. He has higher-quality camera footage and graphic assets that were added in during post-production.

Camera
A DSLR camera is primarily for still shots but also has great video functionality. There are a lot of different settings on them, but don’t get too overwhelmed. You’re really only going to use a couple of those at any given shoot.
Our DSLR camera recommendations:
- Good: Canon EOS Rebel T7
- Better: Canon EOS Rebel SL3
- Best: Canon EOS Rebel T8i
Most DSLR cameras come with a wide lens, so you should also pick up a 50mm portrait lens. This softens out the background, making them great for shots of people. If you’re filming lots of interviews, this is a must. As we recommend Canon DSLR cameras, you should pick the Canon 50mm f/1.8 lens, which is compatible with every Canon EOS camera.
Audio and Mic
A wireless lavalier mic is also going to be a great addition to your setup. These clip onto your chest, just like the wired ones do, but now you have the freedom to move the subject or the camera around without worrying about cords.
Our wireless lavalier microphone recommendations:
- Good: Rode Wireless Go
- Better: Rode RodeLink FM Digital Wireless Filmmaker System
- Best: Sennheiser EW 112P G4
Another mic option is a directional “shotgun” mic. These microphones only pick up sound in the direction they’re pointing in, which is excellent for quashing ambient noise.
Our directional (shotgun) microphone recommendations:
- Good: Audio-Technica AT897
- Better: Rode NTG4+
- Best: Rode NTG3
Tripod
When stabilizing, you’re going to need a video tripod. Unlike the beginner tripod, video tripods dampen motion to make camera movements, like panning shots, really smooth. As a bonus, video tripods are also just sturdier and will last you longer.
Our video tripod recommendations:
- Good: Manfrotto BeFree Live Lever Kit
- Better: Manfrotto 502AH Video Head & MT055XPRO3 Aluminum Tripod Kit
- Best: Manfrotto MVH502A Fluid Head and 546B Tripod System with Carrying Bag
Lighting
The final piece of the puzzle is your lighting kit. A three-point lighting kit is essential because it will help you shape your scene and make your subject pop. When setting up your lighting, you need one key light on one side to provide your primary light source and softer fill light on the other side to subdue the shadows on the other side of your subject. Then you use the third light, a backlight, to contour your subject.
Our lighting kit recommendations:
- Good: Neewer Photography Studio 600W Softbox Lighting Kit
- Better: Neewer 3 Packs Advanced 2.4G 480 LED Video Light Photography Lighting Kit
- Best: Ikan Lyra 1 x 1 Bi-Color 3-Point Soft Panel LED Light Kit
Recommended Advanced Video Equipment Kit
This sort of gear captures the highest quality images possible. You’ll need to have advanced equipment if you’re creating brand videos, TV commercials or online ads, and larger-scale productions.
In this Vidyard holiday video example, we went full production, including a professional camera, audio equipment, and high-quality graphics that are edited in post-production.

Camera
At the advanced level, you’re going to want a dedicated video camera. A camera built specifically for video will have multiple audio inputs and SD card slots, with a ton of extra settings.
You’ll be able to shoot in 4K, and at varying frame rates, and with an adaptor, you’ll be able to use a ton of different lenses like a 50mm or a 24-105 f4. Some even have neutral density filters, which prevent shots from being overexposed.
Our video camera recommendations:
- Good: Sony A7S III
- Better: Sony FS7 Handheld Camcorder
- Best: Canon C300 Mark III
Audio and Mic
If you got a good set of lavalier mics when putting together your intermediate gear set, you likely already have advanced-level microphones. But on your new camera, you’ll be able to adjust mic levels separately (as opposed to mixing all the audio together), which can yield better results when shooting with multiple subjects.
If you haven’t, you will also want to invest in a quality shotgun microphone, such as the Rode NTG4. These are great for large-scale productions and can go on a boom pole. They’re not very mobile, but they do provide crisp and clear sound.
Tripod
You also may have a good enough tripod if you splurged a little bit at the intermediate level. However, as you buy more and more expensive tripods, you’ll notice the movement is more fluid, so make sure to weigh the price with the actual benefit you could receive from an upgrade.
If you’re looking for an upgrade, check out OConnor tripods. These are more on the expensive side, but they’re incredibly high quality.
Lighting
Your lighting is going to need to be leveled up as well. If you didn’t go for one of the pricey lighting options at the intermediate level, you might find that you don’t have control over the lighting you want, so you’re going to need to upgrade.
We recommend seeing if the previously mentioned Ikan Lyra lights are right for you, but the Neewer 3 Packs Advanced kit will also do the trick in a pinch.
The Best Options for Video Editing Software
Now you have your video recording equipment and filmed your footage. The final step is to edit everything together.
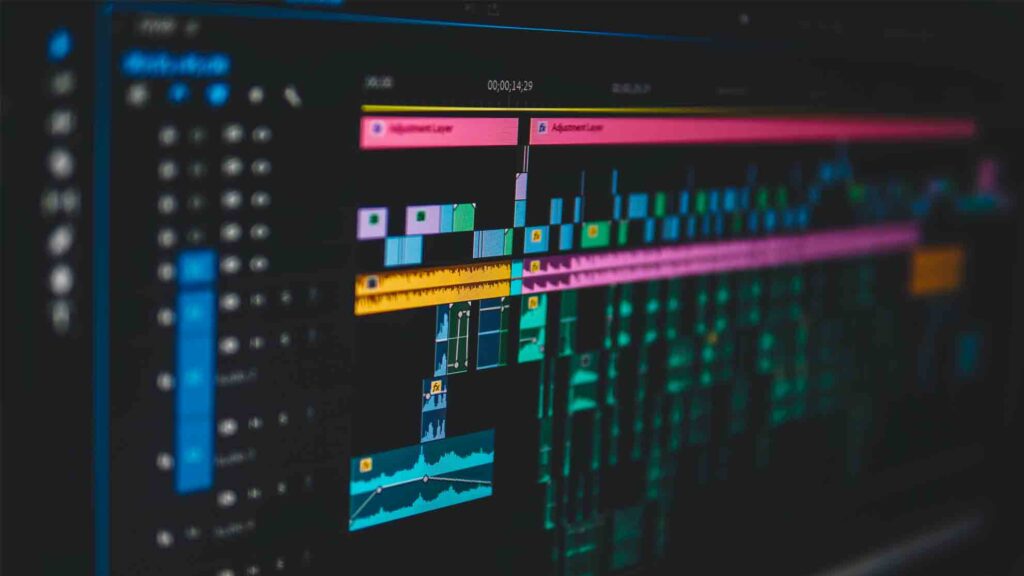
With video editing software, you’ll be able to arrange scenes, trim clips, and adjust light and sound. Usually, you will want to edit your videos on a computer, but with an iPhone, you can use iMovie right on your mobile device.
You likely already have access to video editing software, like iMovie, QuickTime, etc. These will be just fine at the beginner level, but as you notice the limitations of these programs, you’ll want to upgrade to something like Adobe Premiere Rush or Pro or Camtasia.
These have a lot more features for adding graphics, animations, and audio effects. With Premiere, you can even utilize Adobe AfterEffects and add another level of production to your video content. The barrier to using Camtasia or Adobe isn’t the cost—in Adobe’s case, it could be as little as $10. It’s whether someone knows how to use it or will have enough time to invest in learning.
Put Your Video Production Equipment to Work
And there you have it! video production can be tricky, but if you take the time to get comfortable with your equipment and software, you’ll start getting the hang of it quickly. Once you have your equipment locked, it’s time for the pre-production phase of filming. We can’t wait to see what you create.


